Java, JEE, Spring, photography blog.
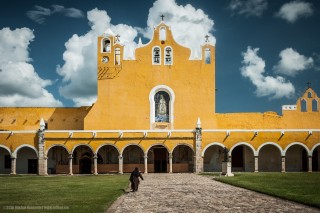
My photos from Mexico.
Please take a look at the Ostensibly Ordinary Pyongyang.
Have you though of going to North Korea?
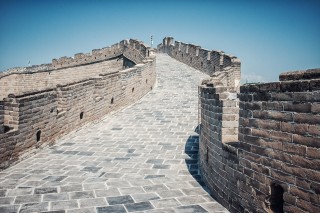
China.
Poland 2014.
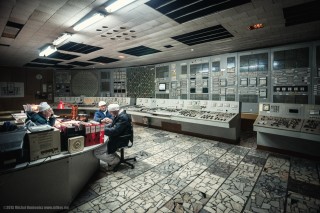
Chernobyl: Questions and Answers #2.
Chernobyl: Questions and Answers #1.